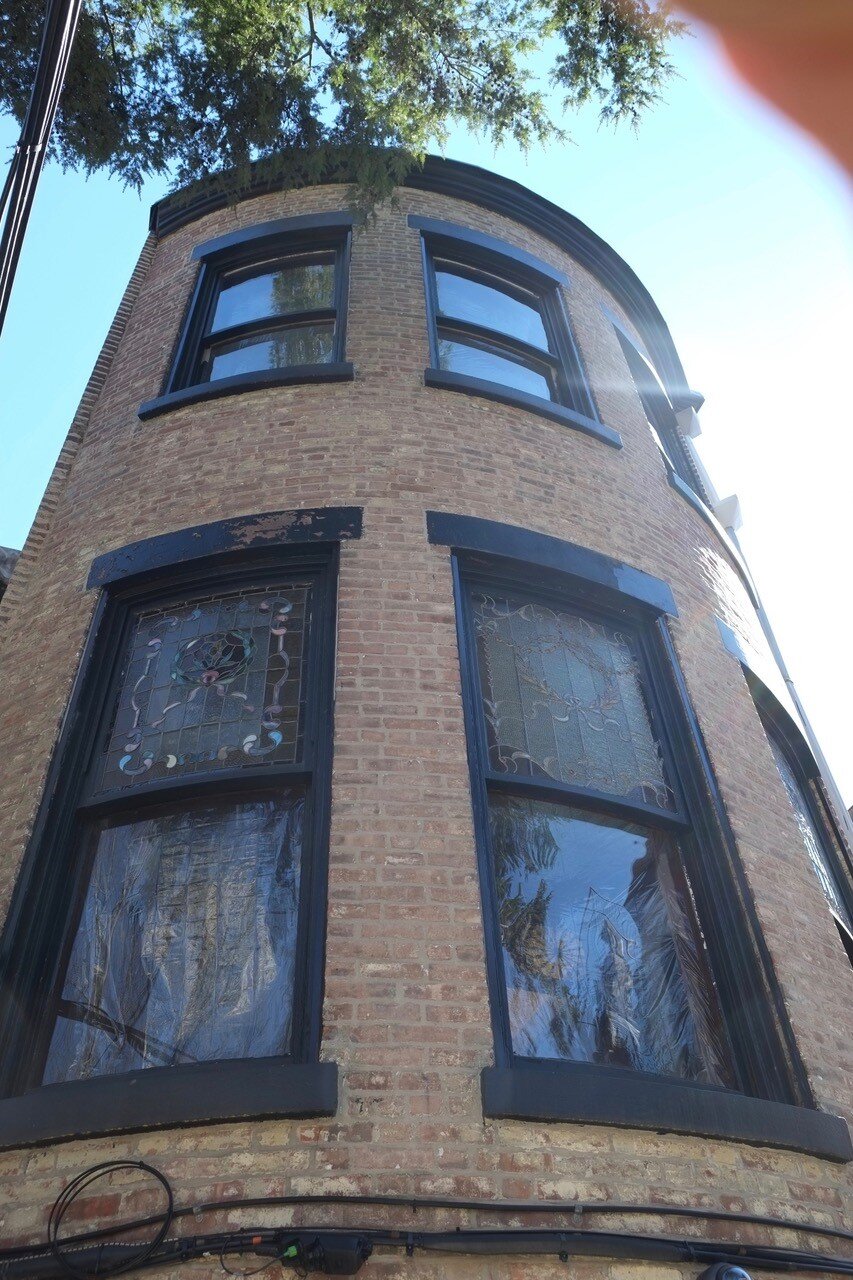
A Brooklyn brownstone with custom fabricated, radiused, weight and chain windows.
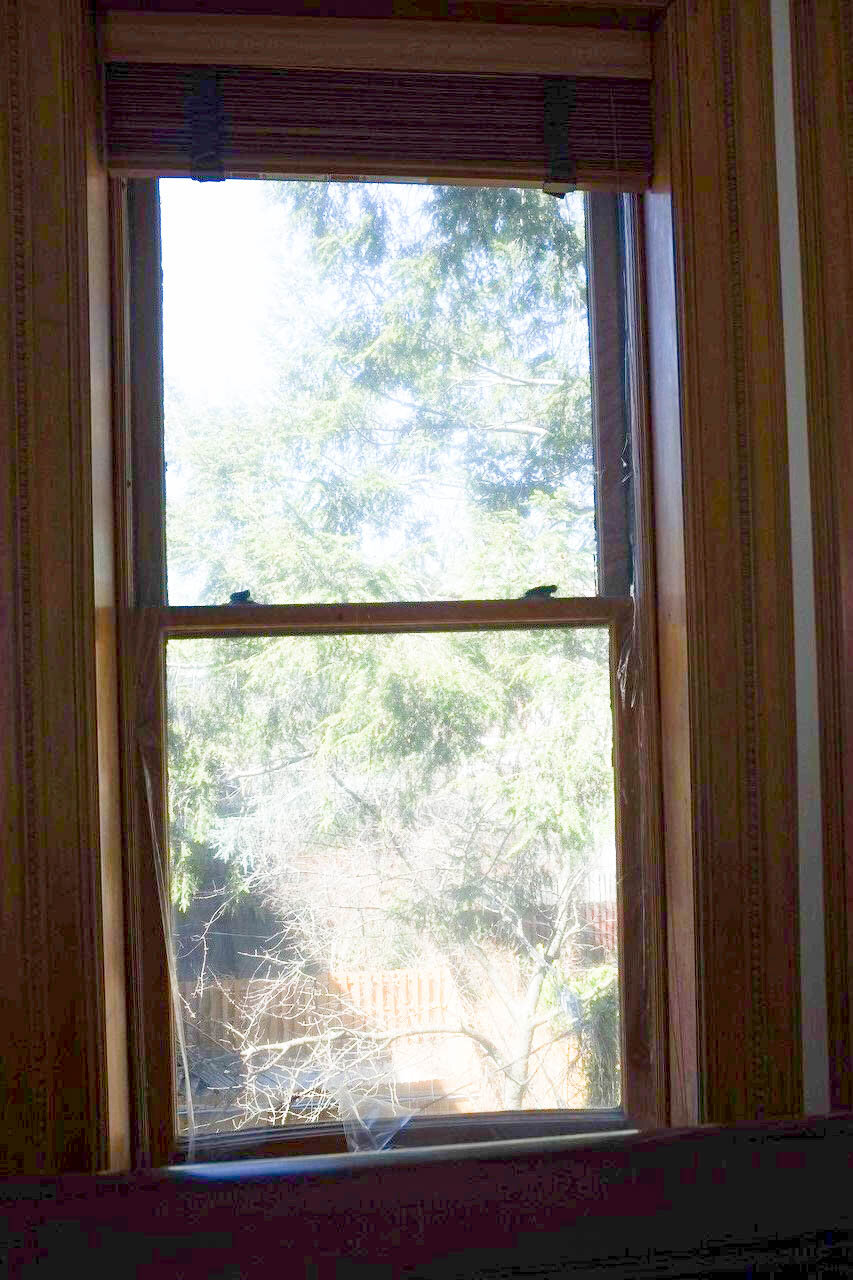
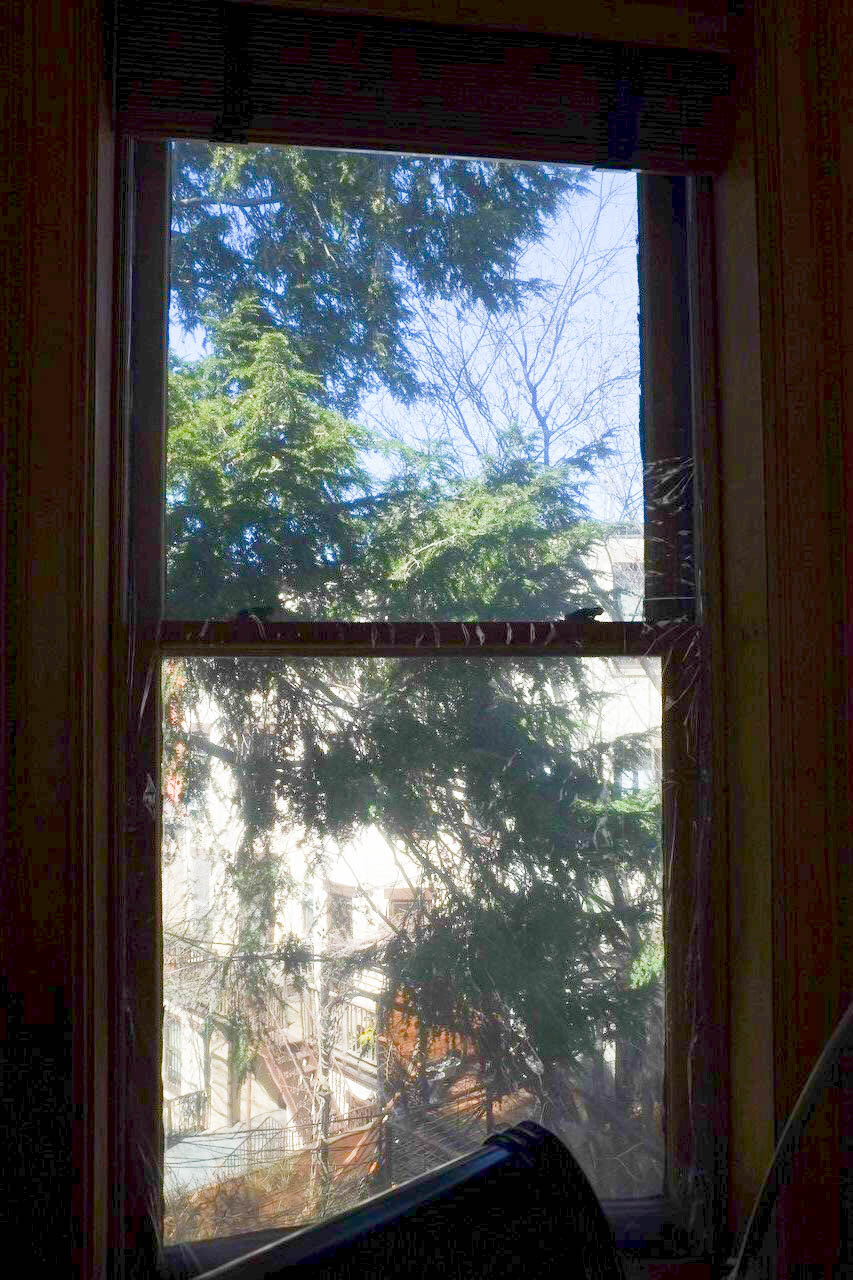
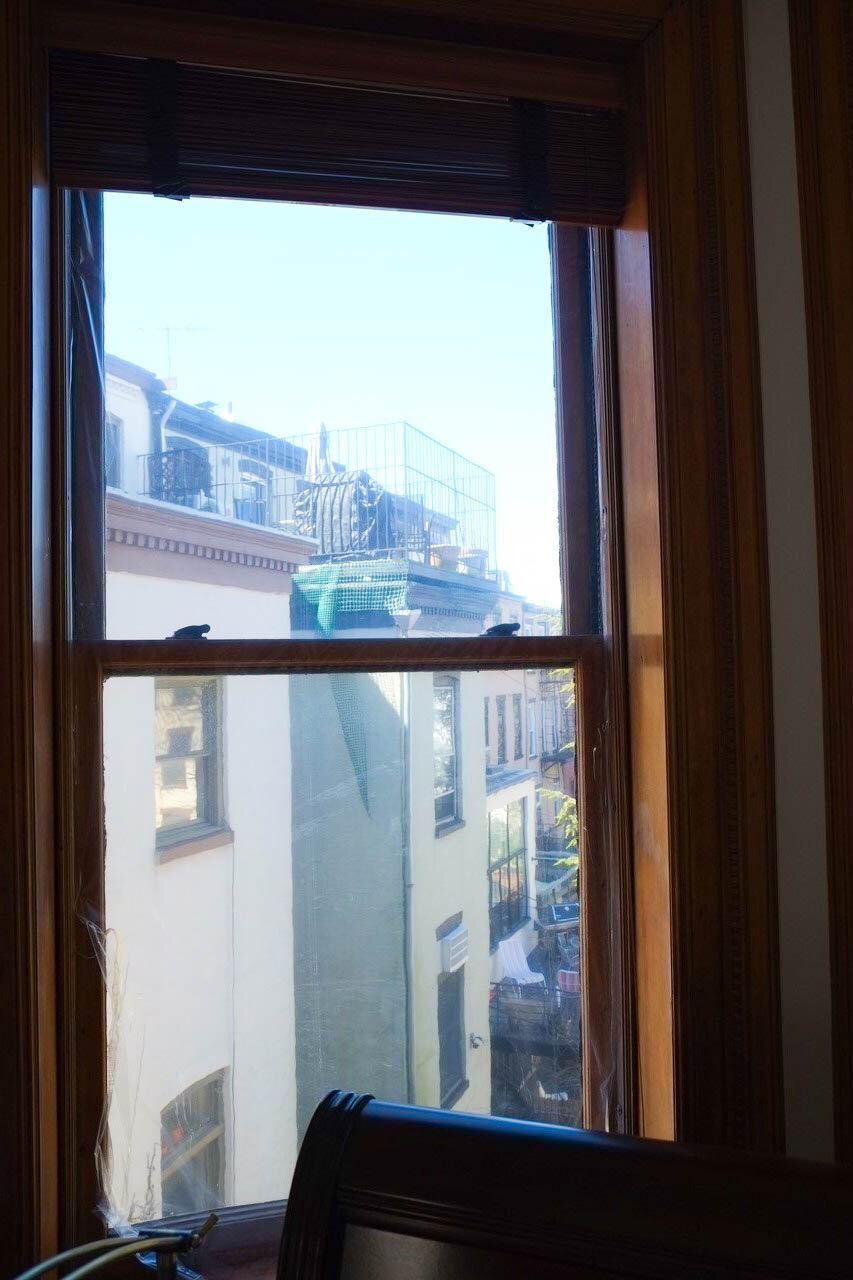
For this project, we fabricated custom wood double hung weight and chain windows with bent glass.
We started with field measurements in order to begin creating templates from the existing windows.
First, we had to determine where the new weight pockets were going to sit in relation to the old ones in order to make sure there was enough room to accommodate them.
With that figured out, then we moved forward with where the brick molding would sit on the blind stop and how the relationship of the brick molding would line up with the reveals.
Because this building was Landmarked, we had to make a historicaly correct replica of the existing brick molding, down to the last detail.
Shop drawings were created and sent to LPC for approval, as per the process.
Custom profile shaper blades were created from a template of the original brick molding.
Fabricating brick molding with a radius is not the easiest thing to do.
Nonetheless, by taking our time, we were able to create a template that resulted in a precise replica of the original molding.
Because the interior stain color needed to match the existing pale, honey color, we used maple veneers. Had we used mahogany as we would with most other projects, it would have been too dark.
First, we created a template for the radius. Then we laid in the veneers that were about 1/4” thick. One layer at a time we began the clamping process.
We began by machining the top rail, meeting rail, and bottom rail. Once those were cut to size, we then replicated the original profile on them and assembled the side rails. That gave us the radiused sashes.
Once the radius sashes were made, they were delivered to Flickenger Glassworks, where they created bent glass IGUs ¾” thick.
Creating bent glass is not the fastest process, but it is an interesting one involving the precisely controlled heating and cooling of the sheet of glass as its formed over a templated shape.
While the sash was being made, we assembled the frame. The weight and chain pockets were created, and all of the pulleys were housed out.
The 2-1/2” sill was shaped on a slope. Then we assembled frame.
When the bent glass came back from Flickenger Glassworks, we carefully installed it into the rebate of the radiused sash.
Now, knowing the weight of the finished sash, we cut steel 1-3/4” x 1-3/4” counterweights.
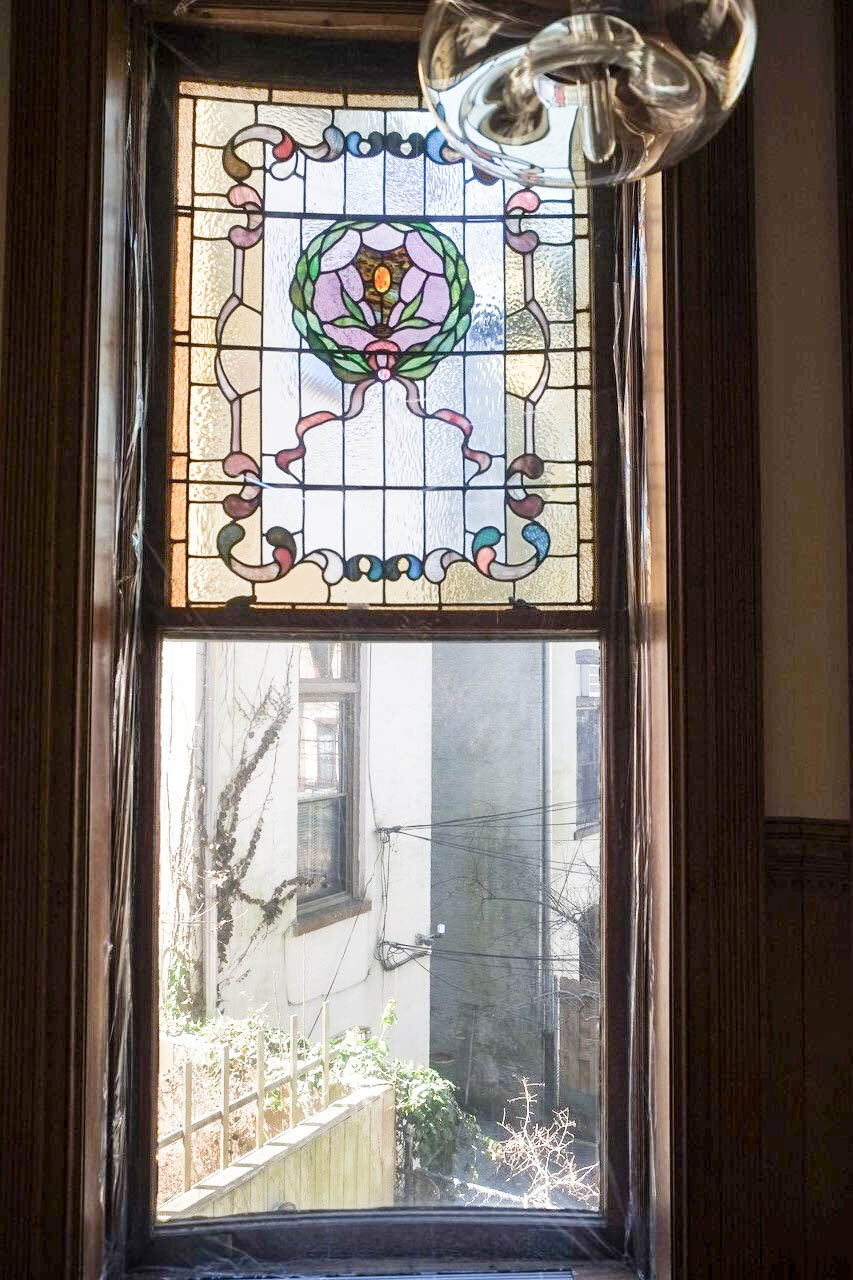
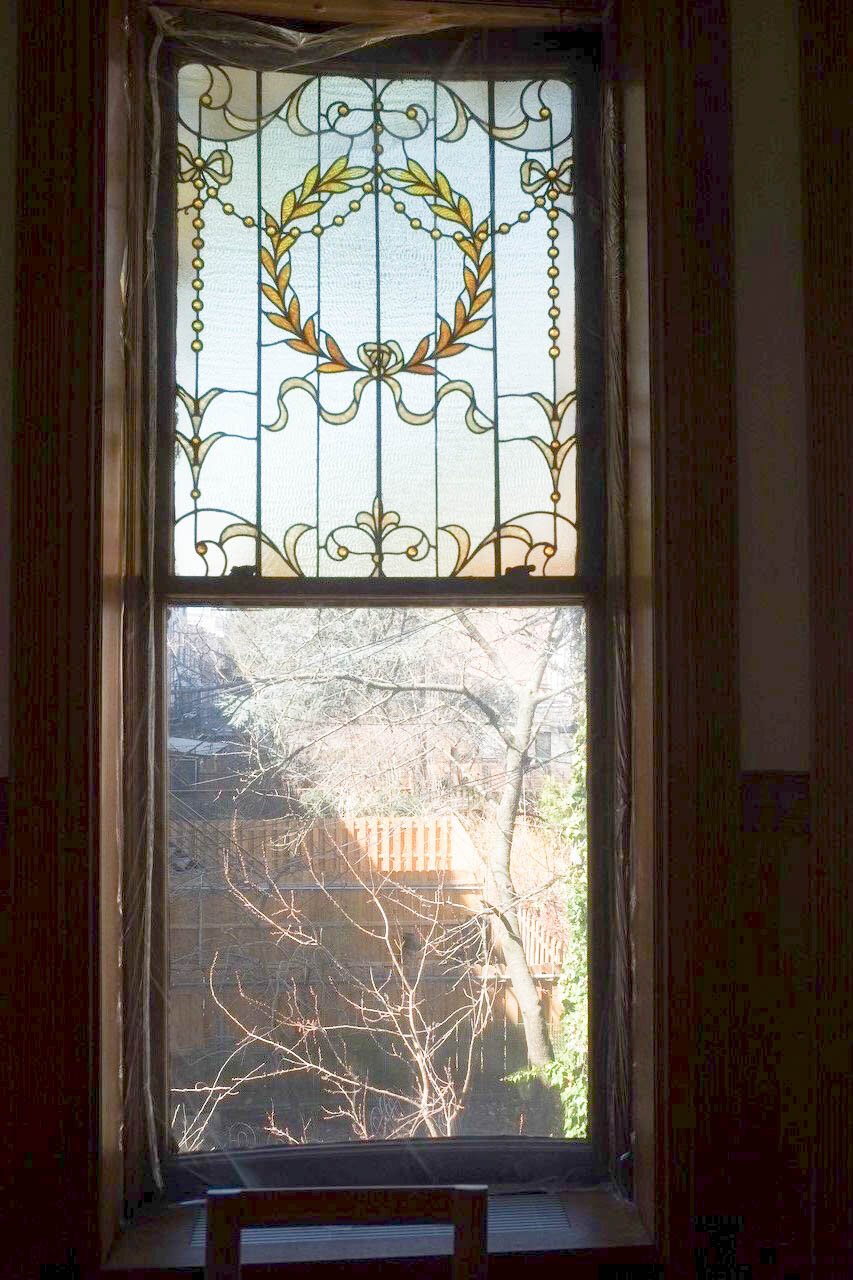
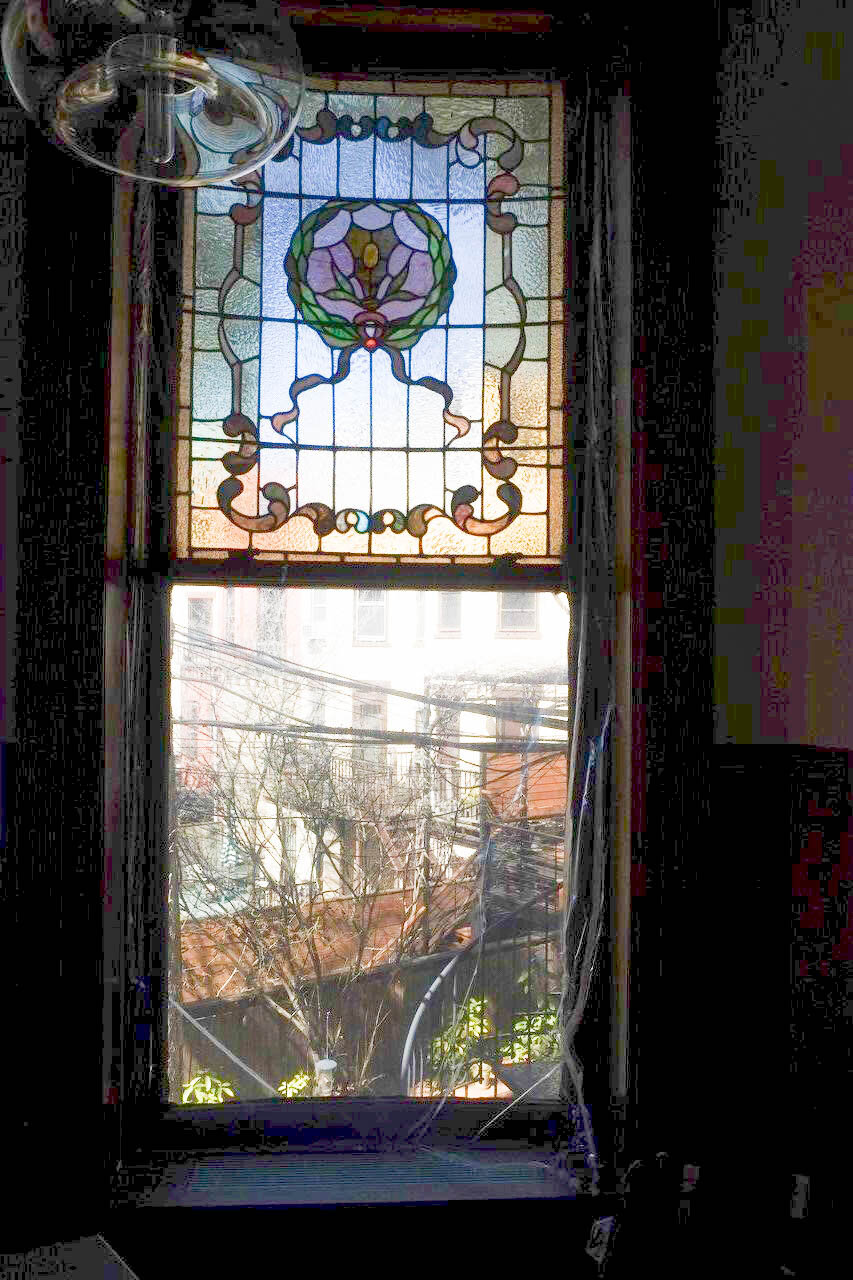
Another element the project was at the back of the house. There were three radiuses sashes, with beautiful stained glass in the upper sash.
Sunburst Studios modified and restored the bent stained glass windows. They were retrofitted into new 2-1/4” sashes in order to accommodate the thickness of an additional layer of glazing.
We installed a ¾” IGU on the exterior of the sash, with a square stop fitted on the inside. Then the radiused stained glass was fitted inside of that.
We fitted an additional stop on to create the glass sandwich. In order to accommodate for excessive heat, we created a small vent hole.
With the carpenters finished with their work, the finishers put the final touches on the windows.
The old, historic windows looked brand new again. Only without the drafty panes.
Related Posts:


Have you ever wondered about how glass can be bent to create windows, such as those often found on corner turrets? If so, then read on.